Homemade Cleaning Products Checklist: 8 Things to Do After You’ve Made Your First Batch
So you just finished your first batch of homemade cleaning products.
Your kitchen counter looks like a science experiment. There’s vinegar everywhere. You’re oddly proud of yourself. And that all-purpose spray? It actually smells good.
So the question is, what should you do next?
Should you just shove everything under the sink? Should you make 10 more batches while you’re on a roll? Or should you call it a day and hope you remember the recipe next month?
In this post, I’m going to walk you through the 8 most important steps to take right after you finish making your homemade cleaning products. These are the steps that turn a fun afternoon project into an actual system you’ll keep using.
Homemade Cleaning Products: 8 Things to Do After You’ve Made Your First Batch
A lot of people make their first batch of homemade cleaning products, feel great about it, and then… never make them again. The bottles end up shoved behind the store-bought stuff. The recipe gets lost in a Pinterest board somewhere.
That’s not because the products didn’t work. It’s because nobody told them what to do after the mixing part.
Here’s how to set yourself up so this actually sticks.
Step 1. Write Down Your Recipes (Yes, Right Now)

Your first order of business is to record exactly what you made. Not tomorrow. Not “when I get a chance.” Right now, while the measurements are fresh.
A lot of people think they’ll remember the ratios. They won’t. I’ve been there, staring at a half-empty bottle of floor cleaner trying to remember if it was two tablespoons or three.
Instead, grab a notebook, open a notes app, or print a simple recipe card. Write down every ingredient, every measurement, and any tweaks you made. This will save you so much time when it’s refill day.
For a solid starter set of recipes, check out our guide to DIY natural cleaning recipes using just 5 ingredients. It covers the basics you’ll come back to again and again.
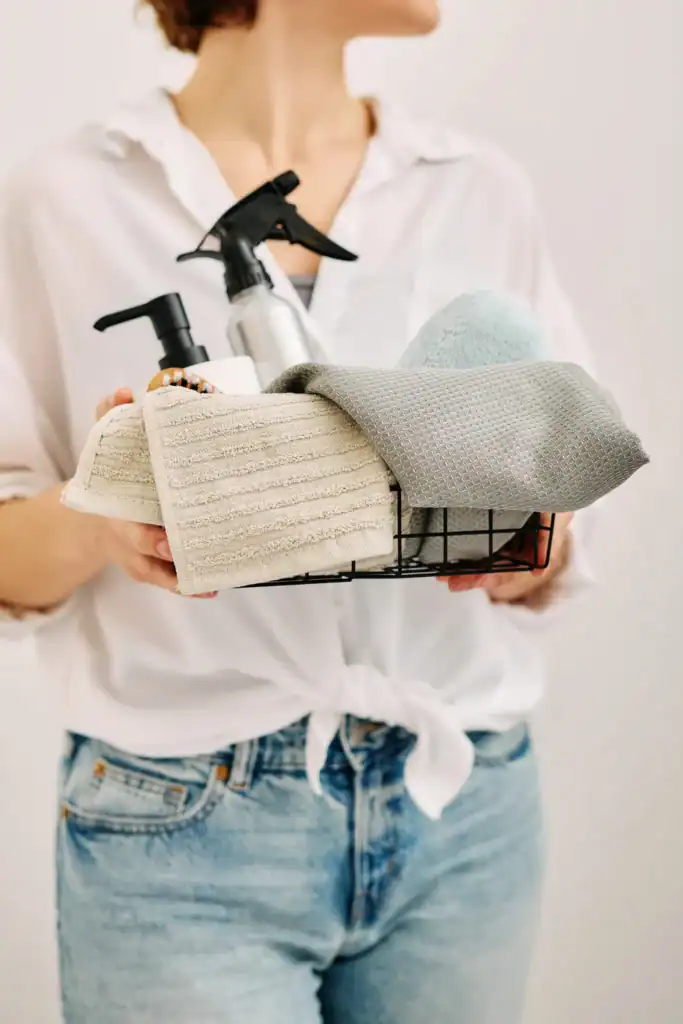
Step 2. Label Every Single Bottle
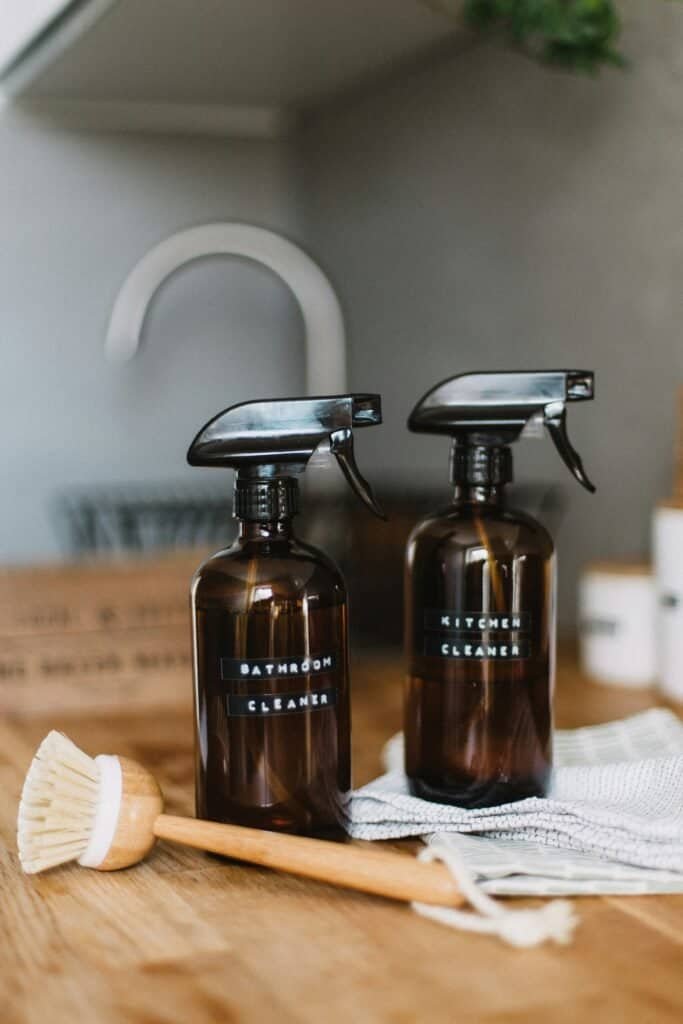
Average DIY cleaners skip the labeling step and hope they’ll remember which spray is which. Smart DIY cleaners grab a marker and take 30 seconds per bottle.
Here’s what to put on each label:
- What it is (all-purpose spray, glass cleaner, etc.)
- The date you made it
- Key ingredients (especially helpful if someone else in your house grabs the wrong bottle)
You can use masking tape and a Sharpie. You can print cute labels. It genuinely doesn’t matter, as long as each bottle is clearly marked.
If you have kids in the house, labeling is even more important. Even though these are non-toxic, you still want everyone to know what’s in each bottle.
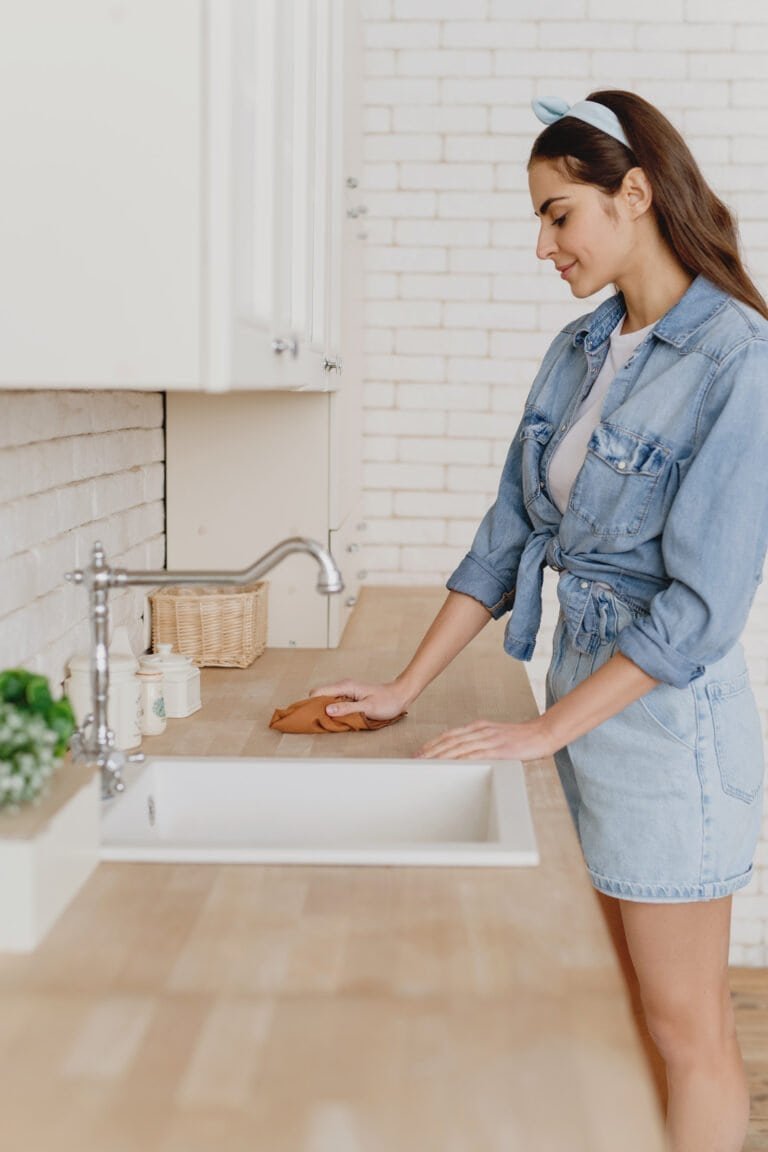
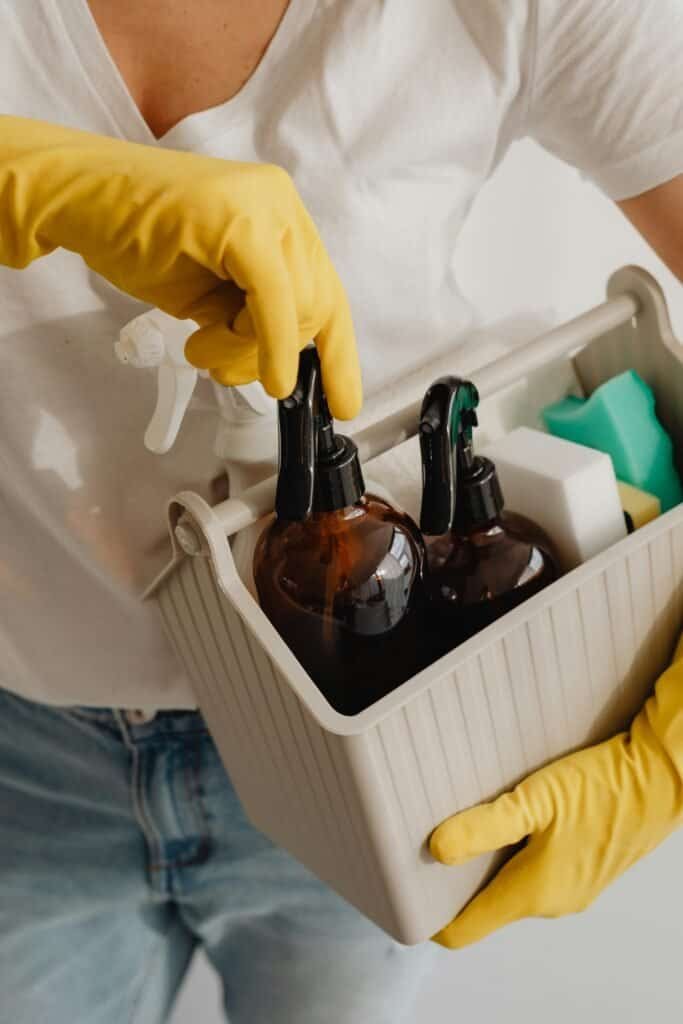
Step 3. Make a Cleaning Basket for Each Area of Your Home
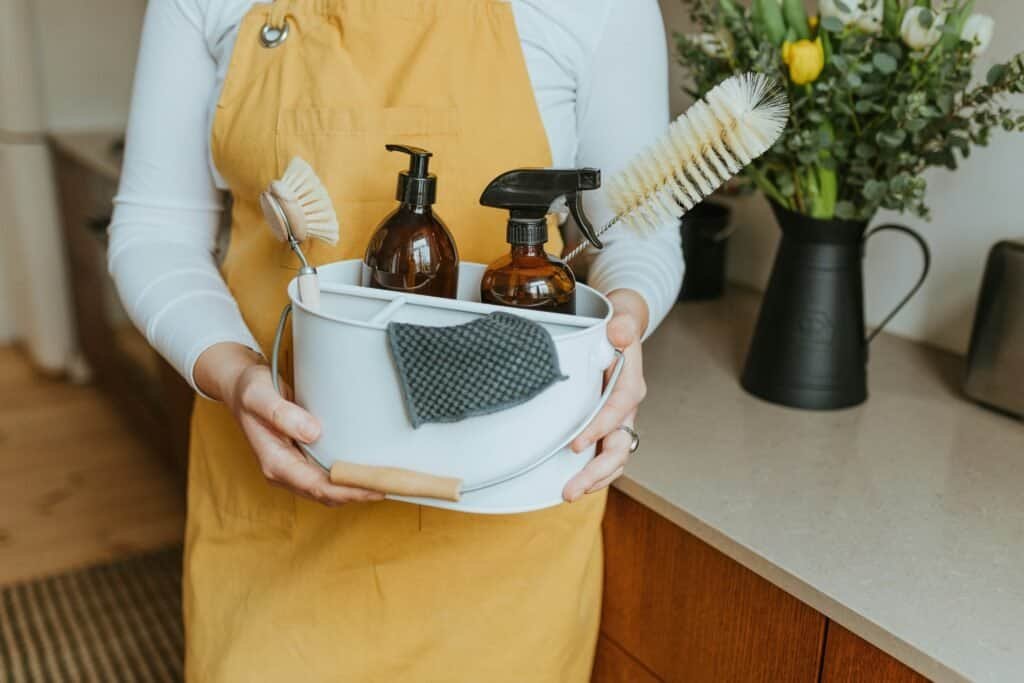
This step is a game-changer. Instead of keeping all your homemade cleaning products in one spot, put together a small basket or caddy for each area: one under the kitchen sink, one in the bathroom, one in the laundry room.
So how do you decide what goes where?
Think about what you actually clean in each room. The kitchen basket gets your all-purpose spray, dish soap, and maybe a scrub paste. The bathroom gets your tub cleaner and glass spray. Simple.
This way, when it’s time to clean, everything is already where you need it. No hauling a giant bin around the house.
For more ideas on building a non-toxic cleaning routine, take a look at our guide to non-toxic cleaning products you can DIY at home.
Your 7-Day Kickstart To A Non-Toxic Home
One swap per day. No overhaul required. Just 7 small changes that make your home a healthier place to live.
No spam. Unsubscribe anytime.
Step 4. Test on a Small Hidden Spot First
If you want your homemade cleaning products to actually replace the store-bought ones, you have to make sure they work on your specific surfaces.
But you also have to be thoughtful about testing so you don’t accidentally damage your countertops or floors. Specifically, you’ll want to spray a small amount in a hidden spot (inside a cabinet door, the corner of a counter) and wait 24 hours.
Vinegar-based cleaners are amazing for most surfaces. However, they shouldn’t be used on natural stone like granite or marble. Castile soap can leave a film on certain finishes. A quick spot test saves you from learning that the hard way.
Bonus tip: Check the Environmental Working Group’s cleaning guide for ingredient safety ratings if you’re ever unsure about a new recipe.
Step 5. Set a Refill Reminder

Speaking of testing, let’s talk about timing.
Making your homemade cleaning products and knowing when to refill them makes this whole system feel effortless. It saves you from that annoying moment when you grab your spray bottle mid-clean and it’s empty.
So set a recurring reminder on your phone for every 2 to 4 weeks (depending on how fast you go through things).
Most homemade cleaning products have a shelf life of about 1 to 3 months. Anything with fresh citrus or essential oils tends to lose potency faster, so those need refreshing more often.
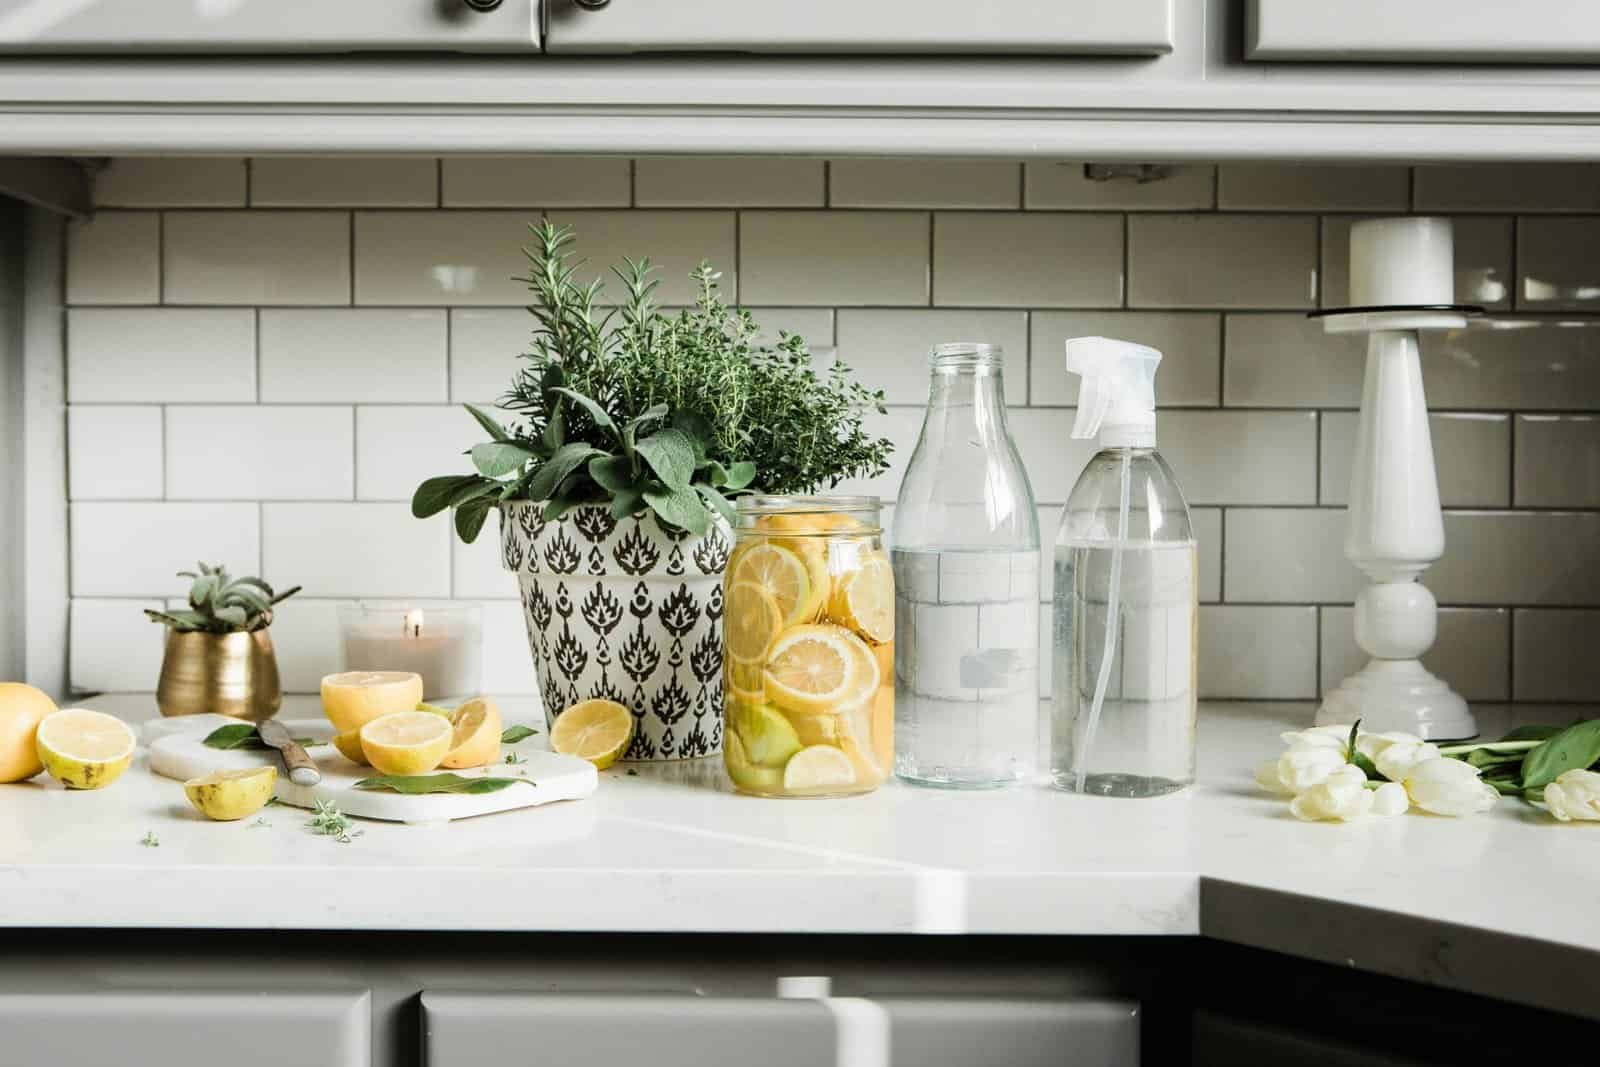
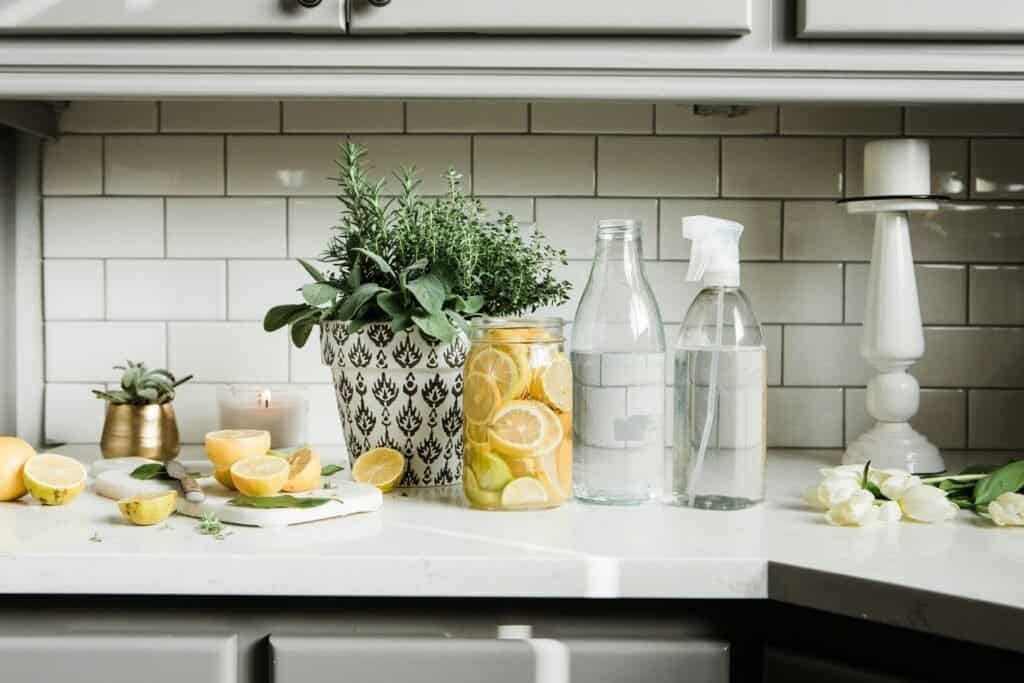
Step 6. Store Your Ingredients Together
Another great way to make your homemade cleaning products last is by creating a dedicated ingredient station.
Just keep your base ingredients (white vinegar, baking soda, castile soap, essential oils, spray bottles) together in one bin or cabinet. When everything lives in one spot, refill day takes 10 minutes instead of 30 minutes of hunting for supplies.
Pro Tip: The key with this step is to buy ingredients in bulk. A gallon of white vinegar costs about $3 and will last you months. Don’t buy the small bottles every time. That adds up fast.
Oh, and I should mention: you really don’t need 15 different essential oils. Lemon, tea tree, and lavender cover about 90% of what you’ll ever need for cleaning.
Step 7. Start with Three Recipes, Not Thirty
Don’t forget, there’s more than one way to build your homemade cleaning product collection. But trying to make everything at once is the fastest way to burn out.
For example, you could start with just an all-purpose spray, a bathroom scrub, and a glass cleaner. That covers most of what you need for a weekly clean.
But that’s just one approach! You can also:
- Swap your laundry detergent next month
- Add a floor cleaner the month after that
- Try a DIY dish soap when your current bottle runs out
You have plenty of time, so use it to build your collection gradually. The goal is progress, not perfection.
Step 8. Track What Actually Works (and What Doesn’t)
This step is one of the most overlooked, but also one of the most important (which is why I saved it for last).
If you don’t pay attention to which recipes perform well and which ones fall flat, how will you know what to make again?
After 2 to 3 weeks, check back in with yourself. Which homemade cleaning products did you reach for the most? Which ones sat untouched? Did anything leave streaks, not cut through grease, or smell weird after a week?
For example, if your all-purpose spray worked great but your tub scrub didn’t quite cut it, you might need to adjust the baking soda ratio or add a little more dish soap.
Here’s what I do when that happens:
- I note what didn’t work and why
- I search for one alternative recipe (not five)
- I test the new version for a week before deciding
- I keep the recipes that work in a “keeper” list
- I don’t waste time perfecting recipes I barely use
Make sure you check in like this every few weeks and adjust your lineup accordingly.
Wrapping It Up
As an Amazon Associate, I earn from qualifying purchases. This means if you click an Amazon link and buy something, I may earn a small commission at no extra cost to you.
If you think your work is over as soon as you finish mixing your homemade cleaning products, I’ve got surprising news for you.
What you do AFTER you make them is even more important than the recipes themselves. Skipping the setup steps can turn a great afternoon of DIY into a one-time experiment you never repeat.
So instead of mixing batch after batch without a system, spend some time labeling, organizing, and tracking what works. Try some of the other steps above and keep them in mind for your next refill day.
Most importantly, stop treating homemade cleaning products like a Pinterest project. Treat them like a simple system that saves you money every single month. Before you know it, you’ll have a fully stocked, non-toxic cleaning routine that practically runs itself.
Your 7-Day Kickstart To A Non-Toxic Home
One swap per day. No overhaul required. Just 7 small changes that make your home a healthier place to live.
No spam. Unsubscribe anytime.