How to Improve Indoor Air Quality (10 Changes You Can Make This Weekend)
The air inside your home is probably worse than the air outside.
That sounds backward. We think of home as clean, safe, protected from the pollution out there. But the EPA estimates that indoor air is 2 to 5 times more polluted than outdoor air. In some cases, up to 100 times worse.
The culprit isn’t one thing. It’s everything. Off-gassing from furniture. Volatile organic compounds from cleaning products. Synthetic fragrance from candles and air fresheners. Cooking fumes. Dust. Pet dander. Mold spores. All of it accumulates in a sealed box that most of us don’t ventilate nearly enough.
The good news: you can improve indoor air quality significantly with changes that take a weekend or less. Most of them are free. A few cost under $50. None of them require renovating your house.
Why Indoor Air Quality Matters
You breathe about 20,000 times a day. The average person spends 90% of their time indoors. That means the vast majority of the air you breathe is indoor air.
Poor indoor air quality has been linked to headaches, fatigue, respiratory irritation, allergies, and disrupted sleep. The World Health Organization estimates that 3.8 million people die annually from illnesses linked to indoor air pollution (primarily from cooking fuels in developing nations, but the principle applies everywhere on a smaller scale).
Even in a modern home, improving the air you breathe has measurable effects on how you feel, sleep, and focus. It’s one of the highest-impact health changes you can make, and it’s almost entirely overlooked.
10 Ways to Improve Indoor Air Quality
As an Amazon Associate, I earn from qualifying purchases. This means if you click an Amazon link and buy something, I may earn a small commission at no extra cost to you.
Ranked roughly by impact and ease. Start at the top and work your way down.
1. Open Your Windows (Free, 5 Minutes)
The simplest and most effective thing you can do. Cross-ventilation (opening windows on opposite sides of the house) creates airflow that flushes out stale air and replaces it with fresh outdoor air. Even 15-20 minutes a day makes a measurable difference.
When to do it: Morning is ideal. Air is generally cleaner in the early morning before traffic peaks. After cooking. After cleaning. After using any products that off-gas.
When to skip it: High pollen days if someone has severe allergies. Wildfire smoke days. Days with poor outdoor air quality (check airnow.gov).
This sounds too simple to matter, but ventilation is the number one recommendation from every indoor air quality expert. Most homes are over-sealed and under-ventilated.
2. Switch to Non-Toxic Cleaning Products (Under $15)
Commercial cleaning products are one of the largest sources of VOCs in your home. Every time you spray a conventional all-purpose cleaner, glass cleaner, or disinfectant, you’re releasing volatile compounds into your air.
The switch is easy. We covered it in detail in our DIY cleaning products guide. For about $15 in supplies, you can make every cleaner your house needs. Vinegar, baking soda, castile soap, hydrogen peroxide. No VOCs. No synthetic fragrance.
If you don’t want to DIY, Branch Basics concentrate replaces every cleaner in your house. One bottle, multiple dilutions.
3. Eliminate Synthetic Fragrance ($0)
This is the change that surprises most people. Plug-in air fresheners, scented candles made with synthetic fragrance, fabric sprays, wax melts. All of them release VOCs, phthalates, and other compounds into your air continuously.
What to remove: Plug-in air fresheners (Glade, Air Wick), aerosol sprays (Febreze), synthetic-scented candles, scented trash bags, dryer sheets
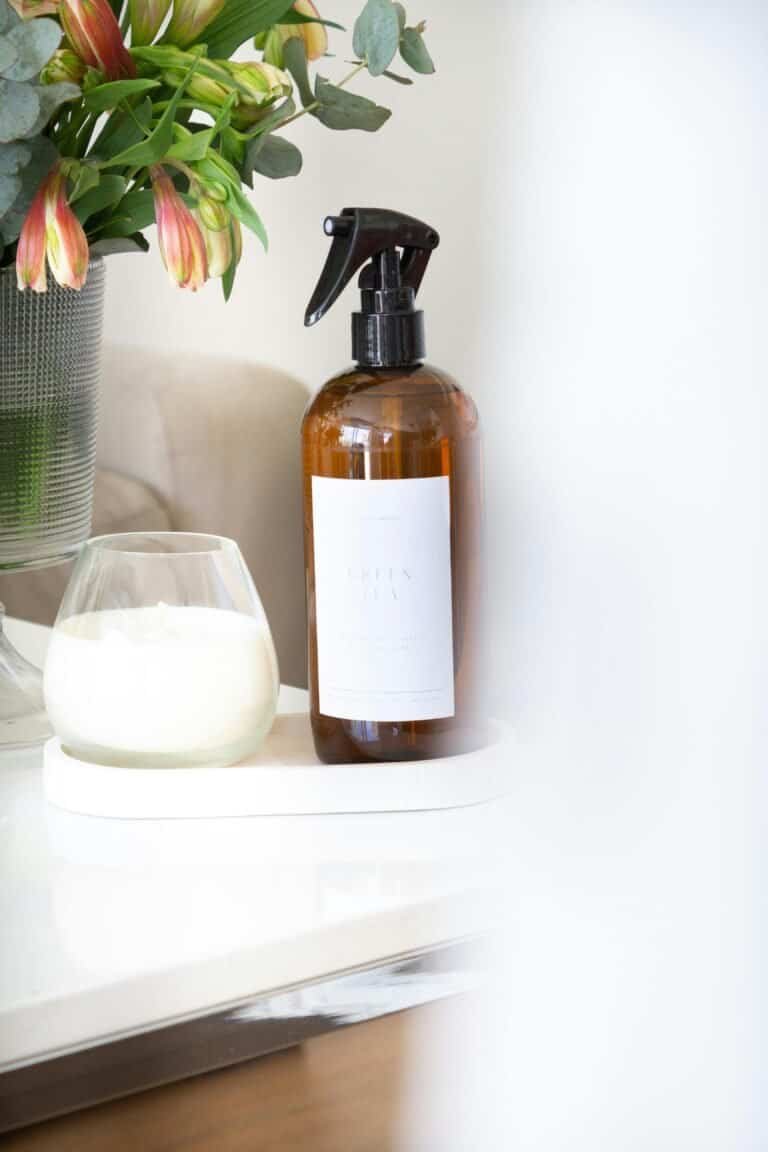
What to replace them with: Open windows, simmering herbs on the stove, essential oil diffusers, non toxic candles, beeswax candles, or simply nothing. Your home doesn’t need to smell like “Hawaiian Breeze” to be clean.
This single change can dramatically improve indoor air quality. Synthetic fragrance is the number one indoor air pollutant that people add voluntarily.
4. Run Your Exhaust Fans (Free)
Your kitchen and bathroom exhaust fans exist specifically to improve indoor air quality. Use them.
Kitchen: Turn on the exhaust fan every time you cook. Gas stoves release nitrogen dioxide and carbon monoxide. Electric stoves still produce cooking fumes and grease particles. The fan pulls these out before they circulate through your home. Run it for 10-15 minutes after you finish cooking.
Bathroom: Run the fan during and for 15-20 minutes after every shower. This removes moisture that leads to mold growth. Mold is one of the most common indoor air quality problems, and excess bathroom humidity is usually the cause.
If your exhaust fans are noisy and weak, they might be clogged. Clean the filters (usually a simple rinse) or replace them. A functioning exhaust fan is one of the most underrated tools for clean indoor air.
5. Add Air-Purifying Plants ($20-$50)
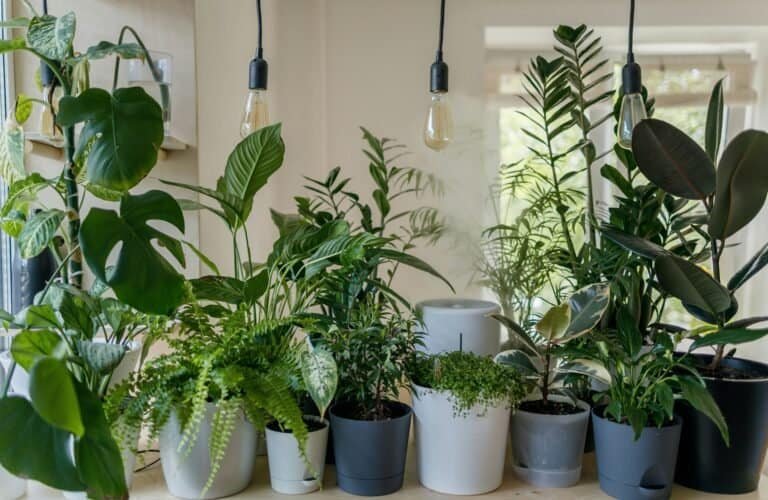
We wrote a whole guide on the best non toxic house plants for air purification. The short version: certain plants remove formaldehyde, benzene, and other VOCs through their leaves and root systems.
Start with 3-4 plants in the rooms where you spend the most time. Spider plants, Boston ferns, and areca palms are among the most effective and easiest to care for. All are safe for kids and pets.
Plants alone won’t transform your air quality. But combined with ventilation, fragrance elimination, and clean products, they’re a meaningful addition. Plus they make your home look better, which is a nice bonus.

6. Vacuum with a HEPA Filter (Cost Varies)
Not all vacuums improve indoor air quality. Some make it worse. A vacuum without a good filter picks up dust and particles, then blows the smallest (and most harmful) ones back into your air through the exhaust.
What you want: A vacuum with a true HEPA filter. HEPA captures 99.97% of particles down to 0.3 microns. This includes dust mites, pet dander, pollen, and fine particulate matter.
How often: High-traffic areas 2-3 times per week. Bedrooms weekly. Under furniture and along baseboards monthly.
Budget option: You don’t need a $700 Dyson. Several HEPA vacuums exist in the $100-$200 range that get the job done.
7. Manage Humidity (Under $30)
Indoor humidity should stay between 30-50%. Above that, you’re creating conditions for mold, dust mites, and bacteria. Below that, you’re drying out your respiratory system.
If your home is too humid (common in bathrooms, basements, coastal areas): Run exhaust fans, open windows, use a dehumidifier. Fix any leaks immediately. Even small drips create moisture pockets where mold thrives.
If your home is too dry (common in winter with forced-air heating): Use a humidifier. Clean it weekly (a dirty humidifier sprays bacteria and mold into your air, which defeats the purpose).
A basic hygrometer (humidity meter) costs $10-$15 and takes 30 seconds to read. Worth knowing what your baseline is.
8. Let New Products Off-Gas Outside
New furniture, mattresses, rugs, and even new clothing release VOCs when they’re first unpacked. That “new car smell” or “new furniture smell” is off-gassing. It’s highest in the first 48-72 hours and can continue at lower levels for weeks.
What to do: Unpack new items outside or in the garage when possible. Let them air out for 24-72 hours before bringing them inside. If that’s not possible, open windows in the room with the new item and run a fan for several days.
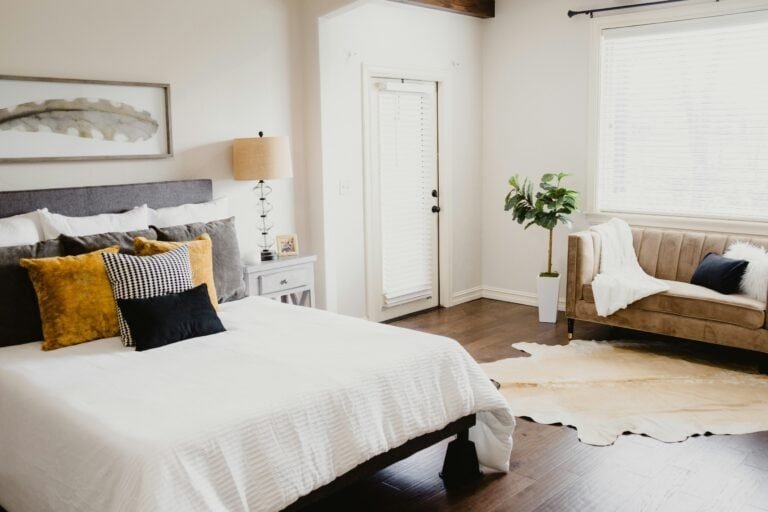
This is especially important for mattresses and cribs. We covered this in detail in our non toxic bedroom guide.
9. Consider an Air Purifier ($80-$300)
If you’ve done everything above and want to go further, a standalone air purifier can make a noticeable difference. Especially useful if someone in the household has allergies, asthma, or chemical sensitivity.
What to look for: True HEPA filter (not “HEPA-type” or “HEPA-like,” which are weaker). Activated carbon filter for VOC removal. Appropriate room size rating. No ionizer or ozone output (some purifiers generate ozone, which is itself a respiratory irritant).
Where to place it: Bedroom first. You spend 7-9 hours there breathing deeply. Living room second.
An air purifier is not a substitute for the other changes on this list. It supplements them. If you’re still burning synthetic candles and spraying Febreze, a HEPA filter is fighting a losing battle.
10. Wash Bedding Weekly in Hot Water (Free)
Your bed collects dust mites, dead skin cells, pet dander, and whatever pollutants settled on the fabric during the week. Hot water (130+ degrees F) kills dust mites that cold water doesn’t.
Wash sheets, pillowcases, and blankets weekly. Pillow protectors and mattress covers monthly. Use non toxic laundry detergent so you’re not replacing dust mites with synthetic fragrance residue.
This is the change people notice in their sleep quality first. Cleaner air in your immediate breathing zone (the 6 inches above your pillow) matters more than the air in the rest of the house.
Your Air Quality Connects to Everything
Better indoor air starts with what you bring into your home. The 7-Day Non-Toxic Kickstart helps you swap out the biggest offenders one product at a time, delivered to your inbox.
Your 7-Day Kickstart To A Non-Toxic Home
One swap per day. No overhaul required. Just 7 small changes that make your home a healthier place to live.
No spam. Unsubscribe anytime.
The Weekend Plan
Here’s how to tackle all 10 in a single weekend:
Saturday morning: Open windows. Remove synthetic fragrances (plug-ins, aerosol sprays, scented candles). Clean exhaust fan filters.
Saturday afternoon: Switch to non-toxic cleaning products (make DIY or buy Branch Basics). Vacuum with HEPA. Wash all bedding in hot water.
Sunday: Buy 3-4 non toxic house plants. Check humidity levels. Assess off-gassing sources (any new furniture?). Research air purifiers if needed.
Total cost: $0-$50 for everything except the air purifier (which is optional).
Time investment: About 3-4 hours spread across two days. Most of that is the cleaning and plant shopping.
By Sunday night, the air quality in your home will be measurably different. You might notice it in your sleep that first night. You’ll definitely notice it within a week.
Save For Later
The Big Picture
Indoor air quality isn’t something most people think about until someone develops allergies, asthma, or chronic headaches. But the quality of the air you breathe every day affects everything: energy levels, sleep quality, cognitive function, respiratory health, even mood.
The changes above aren’t extreme. They’re mostly free. Many of them overlap with the non-toxic swaps you’re already making. Improving indoor air quality is just the natural next step in creating a healthier home.
For a room-by-room guide to every non-toxic swap we recommend, check out our complete guide to non toxic swaps for every room.
Save This For Later
Want the Easy Version?
Get the free 7-Day Non-Toxic Home Kickstart, one simple swap a day, delivered to your inbox.
Your 7-Day Kickstart To A Non-Toxic Home
One swap per day. No overhaul required. Just 7 small changes that make your home a healthier place to live.
No spam. Unsubscribe anytime.