Grout Cleaner DIY: 3 Methods That Actually Work (Tested on Real Grime)
Grout is the first thing to look dirty and the last thing anyone wants to clean.
Those thin lines between your tiles collect everything. Soap scum in the shower. Grease splatters in the kitchen. Mildew in the bathroom. Foot traffic in the entryway. And once grout goes from white to grey to brown, most people assume it’s permanent.
It’s not. A good grout cleaner diy can reverse months of buildup with ingredients that cost less than a cup of coffee. We’ve tested a lot of methods. Some worked. Some were a waste of time. What follows are the three that actually deliver results, ranked from easiest to most thorough.
Why Skip the Commercial Stuff?
Commercial grout cleaners typically contain bleach, ammonia, or phosphoric acid. They work, no question. They also fill your bathroom with fumes that require ventilation, burn skin on contact, and leave chemical residue in the grout lines where moisture sits permanently.
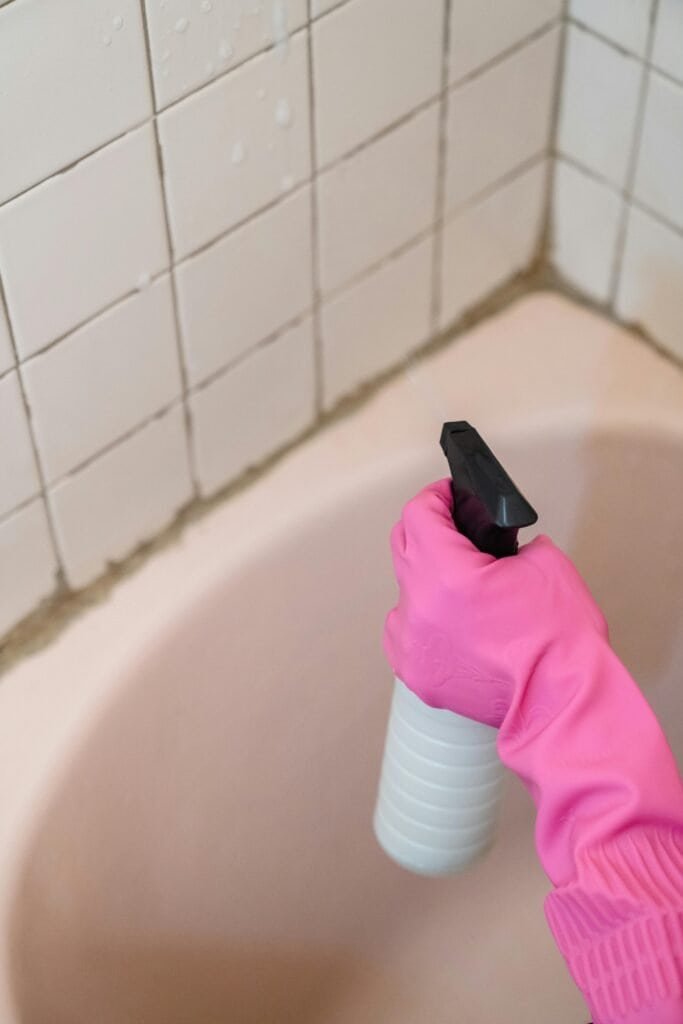
In a shower, that residue reactivates every time hot water hits it. You’re standing barefoot in a space where those chemicals are warm, wet, and steamy. Your skin absorbs more in hot environments. Your lungs take in more in humid air.
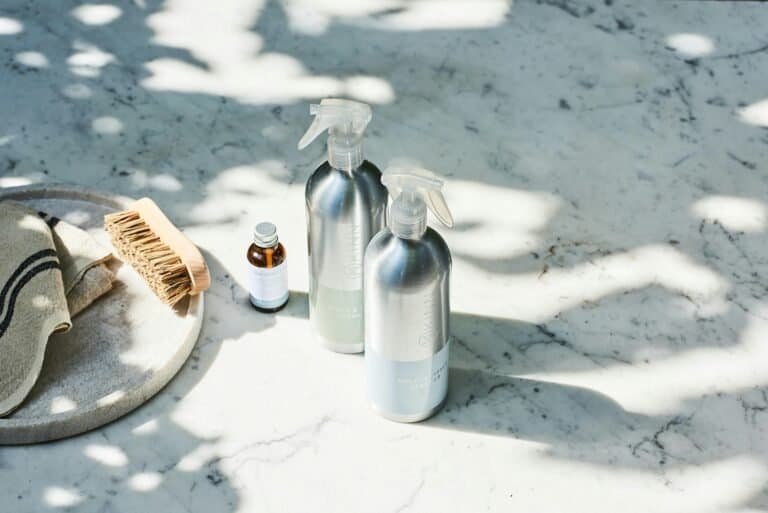
A homemade grout cleaner diy avoids all of that. Same results, minus the chemical exposure.
The Three Methods (Ranked by Effort)
As an Amazon Associate, I earn from qualifying purchases. This means if you click an Amazon link and buy something, I may earn a small commission at no extra cost to you.
All three use the same basic ingredients. The difference is time and elbow grease.
Method 1: The Quick Scrub (15 minutes)
Best for: Light discoloration, monthly maintenance, grout that’s a little dingy but not terrible.
What you need:
- 1/2 cup baking soda
- Water (enough to make a paste)
- An old toothbrush or grout brush
How to do it: Mix baking soda and water into a thick paste. Apply it directly to the grout lines using the brush. Scrub in small circular motions. Rinse with warm water.
That’s it. For grout that gets regular attention, this is all you need. The baking soda is abrasive enough to lift surface grime without scratching tile. It handles soap scum and light mildew on the spot.
Honest assessment: This won’t fix deeply stained grout. If your grout hasn’t been cleaned in 6+ months, skip to Method 2 or 3.
Method 2: The Fizz Treatment (30 minutes)
Best for: Moderate staining, soap scum buildup, grout that’s clearly discolored but not black.
What you need:
- 1/2 cup baking soda
- 1/4 cup hydrogen peroxide (3%)
- 1 teaspoon castile soap
- An old toothbrush or grout brush
How to do it:
- Mix all three ingredients into a paste in a small bowl.
- Apply the paste to grout lines. Be generous. You want the grout covered, not just lightly coated.
- Let it sit for 10 minutes. The hydrogen peroxide does the heavy lifting while you wait.
- Scrub with the brush. You’ll see the difference immediately.
- Rinse with warm water.
The hydrogen peroxide whitens and disinfects. The baking soda scrubs. The castile soap helps the paste cling to vertical surfaces (shower walls, backsplash) instead of sliding off.
Pro tip: For vertical grout lines, make the paste slightly thicker so it sticks. Add less hydrogen peroxide, more baking soda.
Method 3: The Overnight Wrap (12+ hours)
Best for: Heavy staining, neglected grout, years of buildup, grout you’ve given up on.
What you need:
- 1/2 cup baking soda
- 1/4 cup hydrogen peroxide
- 1 teaspoon castile soap
- Plastic wrap
- An old toothbrush or grout brush
How to do it:
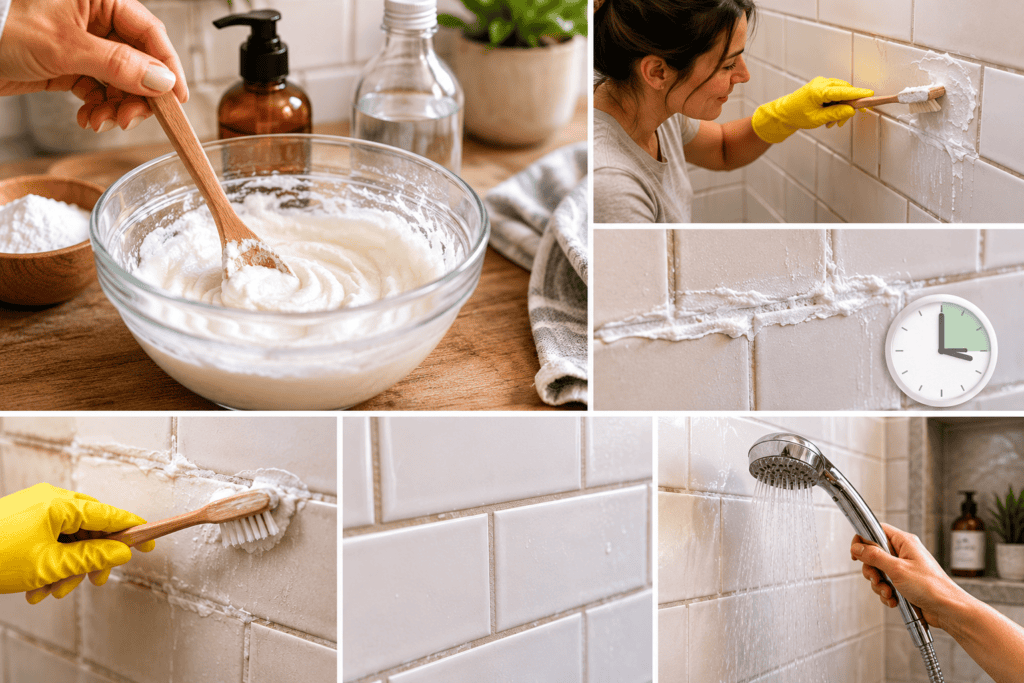
- Mix the paste (same as Method 2).
- Apply generously to the worst grout lines.
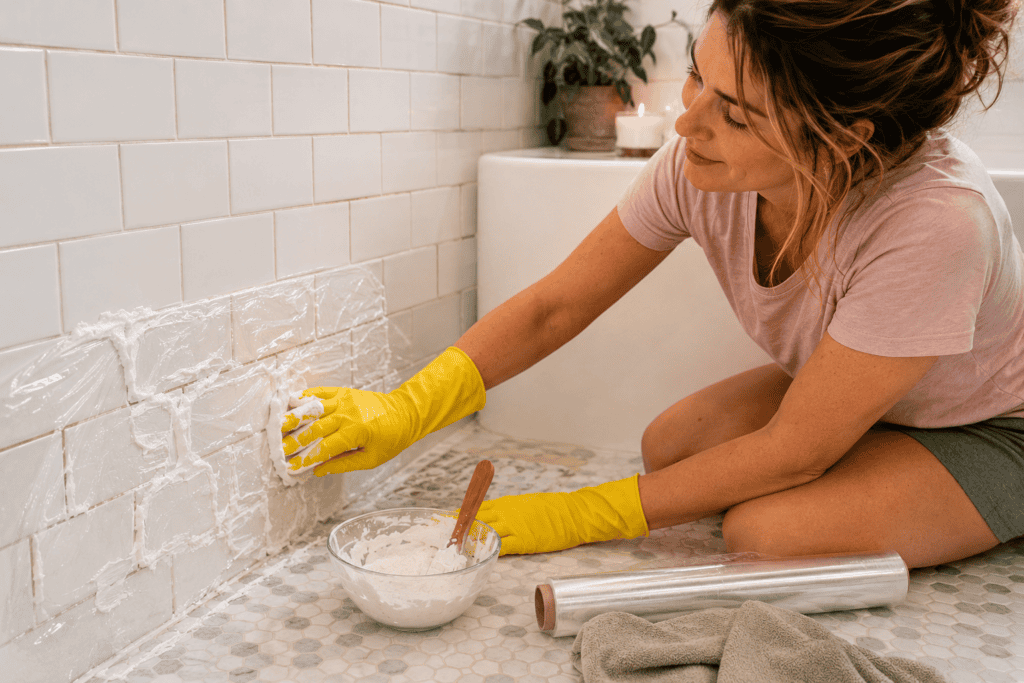
- Cover the paste with strips of plastic wrap. Press it down so the wrap holds the paste against the grout.
- Leave it overnight. At least 8 hours. The plastic wrap prevents the paste from drying out, which means the hydrogen peroxide keeps working all night.
- In the morning, remove the plastic wrap. Scrub with the brush.
- Rinse with warm water.
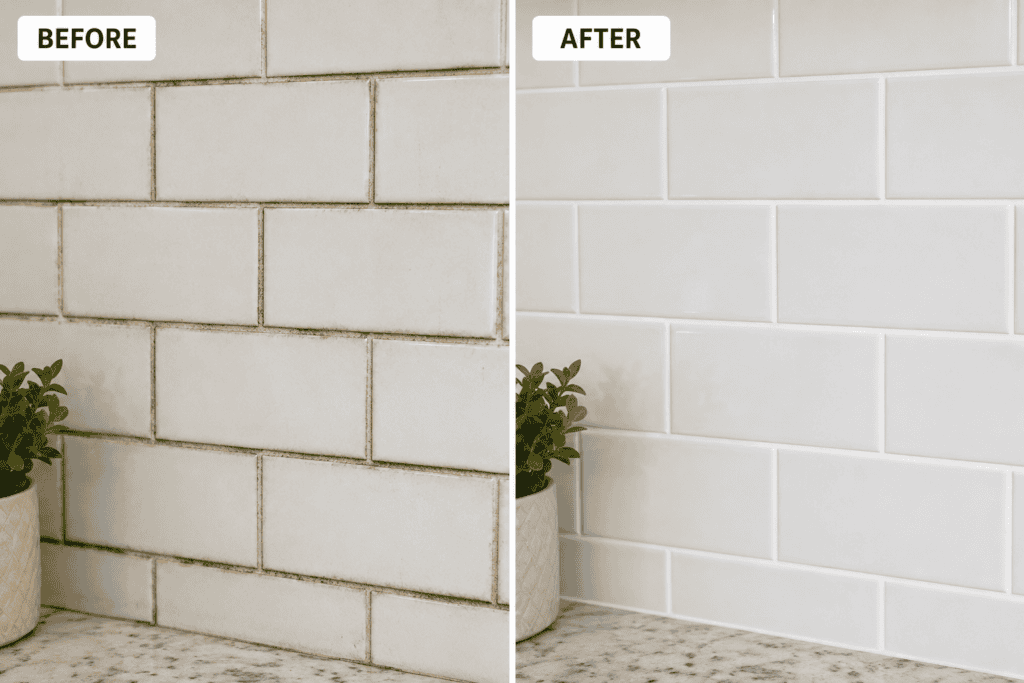
This is the grout cleaner diy that surprises people. Grout that looked permanently stained comes back to nearly white. The extended contact time is the difference. Most commercial products work in 5-10 minutes because they use harsh chemicals. This method works overnight because it uses patient chemistry.
Real talk: If your grout is truly black from years of neglect, even this method might only bring it back to light grey. In that case, you may want to consider grout paint or re-grouting. But try this first. It works more often than you’d expect.
What Else Is Under Your Sink?
Grout cleaner is handled. But what about the rest of the bottles under your sink and in your cabinets? The 7-Day Non-Toxic Kickstart walks you through one simple swap a day across your whole home.

Your 7-Day Kickstart To A Non-Toxic Home
One swap per day. No overhaul required. Just 7 small changes that make your home a healthier place to live.
No spam. Unsubscribe anytime.
Which Method Should You Use?
Here’s the simple decision tree:
When was the last time you cleaned your grout?
Less than a month ago → Method 1 (quick scrub)
1-6 months ago → Method 2 (fizz treatment)
6+ months ago or “never” → Method 3 (overnight wrap)
After the initial deep clean, monthly Method 1 maintenance keeps everything looking good. The big clean becomes unnecessary when you stay on top of it.
Floor Grout vs. Shower Grout
Same ingredients. Slightly different approach.
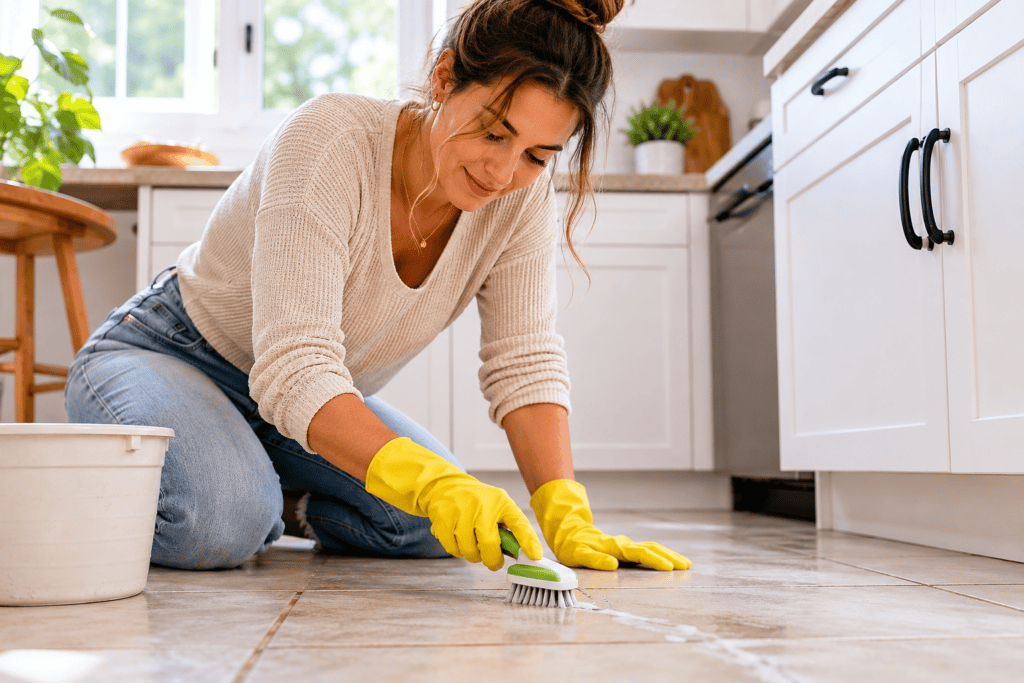
Floor grout is easier because gravity works in your favor. Paste stays in the lines. Water rinses cleanly. Apply the paste, scrub, mop the floor. Done. For large floor areas, mix a bigger batch and use a grout brush attached to a handle (saves your knees and back).
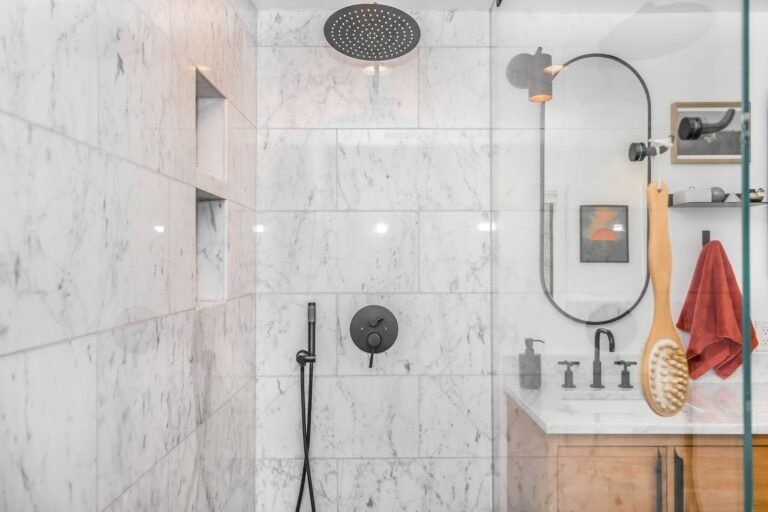
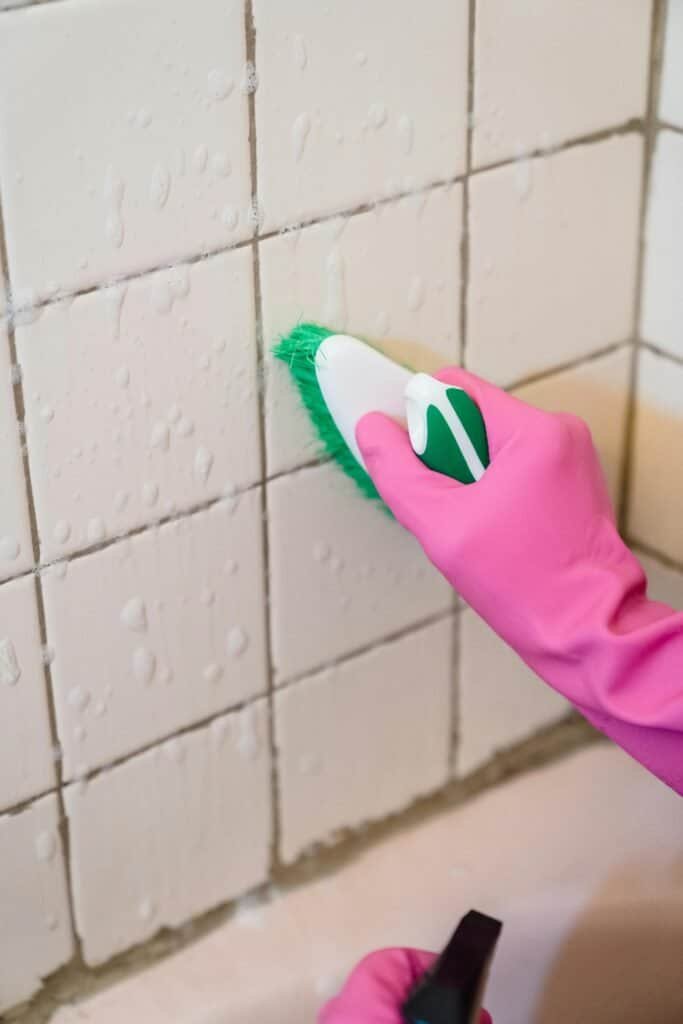
Shower grout is trickier because it’s vertical and constantly exposed to moisture. Make the paste thicker for walls. The plastic wrap method (Method 3) is especially useful here because it holds the paste in place on vertical surfaces. Focus on corners and ledges where water pools. Those spots grow mildew fastest.
Kitchen backsplash grout tends to collect grease rather than soap scum. Method 2 handles grease well because the castile soap cuts oil while the baking soda scrubs. For heavy grease stains behind the stove, apply the paste, cover with plastic wrap, and let it sit a few hours.
The Grout Brush Situation
A regular toothbrush works fine. But if you have a lot of tile (full bathroom, kitchen floor, entryway), buy a proper grout brush. They’re $5-$10 and the stiffer bristles save significant time and effort.
The best options:
- Handheld grout brush: Good for shower walls and small areas. Look for stiff nylon bristles.
- Long-handled grout brush: Essential for floors. Saves your back. Worth every penny.
- Old electric toothbrush: Surprisingly effective. The vibration does half the scrubbing for you.
Do not use a wire brush on grout. It seems like it would work faster, but it scratches the tile and damages the grout surface, creating tiny grooves where dirt and mildew collect even faster.
How to Keep Grout Clean (So You Don’t Have to Do This Often)
The best grout cleaner diy is prevention.
Seal your grout. After a deep clean, apply a grout sealer. It creates a barrier that repels moisture and stains. Most sealers last 1-2 years. It’s a 30-minute job that makes your next cleaning 10x easier.
Squeegee the shower. After every shower, run a squeegee over the tile walls. Takes 30 seconds. Removes the standing water where mildew grows. This single habit prevents most shower grout problems.
Ventilate. Run the bathroom fan during and after showers. Moisture is mildew’s best friend. If your bathroom doesn’t have a fan, crack the window or leave the door open after showering.
Monthly maintenance. A quick Method 1 scrub once a month means you never need the overnight treatment again. Put it on the same day as your other cleaning. Five minutes of prevention beats an hour of correction.
When to Call It
If your grout is:
- Crumbling or cracking → needs re-grouting, not cleaning
- Black deep into the pores even after the overnight method → consider grout paint (epoxy-based grout paint covers stains permanently)
- Growing persistent mold that returns within days → you might have a moisture problem behind the tile. Check ventilation and look for leaks before cleaning again.
A grout cleaner diy handles cosmetic staining. Structural issues with the grout itself need a different solution.
The Bottom Line
Three methods. Same cheap ingredients. The only real variable is patience.
Grab the Printable
For a complete list of every cleaning recipe we use (not just grout), check out our DIY natural cleaning products guide with 8 tested recipes for every room in your house. Total startup cost: about $15 for months of supplies.
Recommended products
Save This For Later
Want the Easy Version?
Get the free 7-Day Non-Toxic Home Kickstart, one simple swap a day, delivered to your inbox.
Your 7-Day Kickstart To A Non-Toxic Home
One swap per day. No overhaul required. Just 7 small changes that make your home a healthier place to live.
No spam. Unsubscribe anytime.